Difference between revisions of "Perfect Oats Grain Bags"
| Line 46: | Line 46: | ||
<br/><br/><br/><br/> | <br/><br/><br/><br/> | ||
[[File:Oats added water.jpg|center]] | [[File:Oats added water.jpg|center]] | ||
| − | Next add 1.2L of boiling water into the bag, try to pour the water in without making contact with the sides | + | Next add 1.2L of boiling water into the bag, try to pour the water in without making contact with the sides of the bags and fold the bag along the creases, if the hot water comes in contact with the sides it will make it more difficult to fold the bag. |
<br/><br/><br/><br/> | <br/><br/><br/><br/> | ||
[[File:Oats Soak.jpg|center]] | [[File:Oats Soak.jpg|center]] | ||
Latest revision as of 16:29, 15 February 2024
Here is how I make my grain bags, I have used a similar method for jars, however the water content will be significantly different.
Why Oats?
After experimenting with many different grains and ended up using oats as there are multiple advantages of using oats over other grains in my opinion.
Pros:
- Very nutritious
- Least labour intensive
- Easy to work with
- Cheap
- Predictable outcome
Cons
- Requires longer sterilization cycle
What you will need:
Ingredients:
- Whole Oats Grains (must be whole, not crushed or rolled)
- Water
Equipment Required:
- Unicorn 3T Grow Bags or similar (Must have a 0.2 micron filter patch designed for spawn production)
- Scale
- Laminar Flow Hood
- Impulse sealer
- Pressure Canner/Cooker/Autoclave
Method:
I like to make 2.5KG spawn per bag, if you want to make smaller bags just do some math.
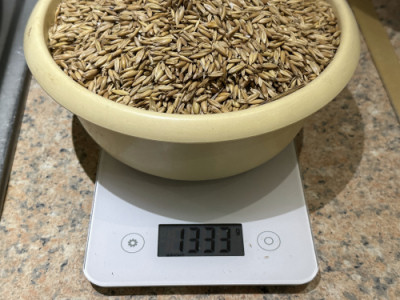
Ok, start off by by weighing out 1.333kg of grains
Gently add the dry grains to the bag, no need to prep or rinse it in anyway, Make sure to keep the insides of the bag as clean as possible, if you get some dust from the oats on the insides of the bag wipe it off with a damp paper towel, this is necessary to ensure a nice vacuum seal in the PC.
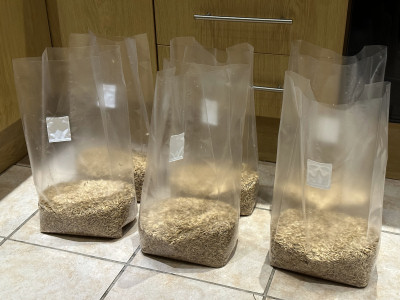
I have a 40L Pressure Canner that can fit 6 of these bags so I make 6 at a time.
Next add 1.2L of boiling water into the bag, try to pour the water in without making contact with the sides of the bags and fold the bag along the creases, if the hot water comes in contact with the sides it will make it more difficult to fold the bag.
Now let the bag soak for around 15 to 20 minutes, then flip it on its side and let it soak for another 15 to 20 minutes, then flip it over to the other side and wait another 15 to 20 minutes. The reason for this is 2 fold, firstly so the grains can expand a bit before putting it into the PC and thus decrease the chance of burst bags due to expanding in the PC, and secondly for moisture distribution.
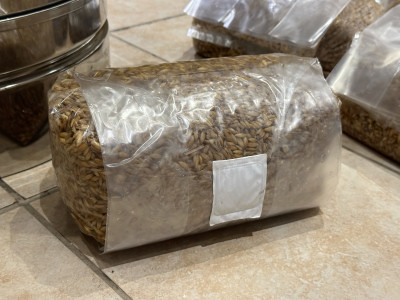
After soaking, as neatly as possible, fold the bag nicely along the creases and fold the top over and under the bag with the filter patch on the outside.
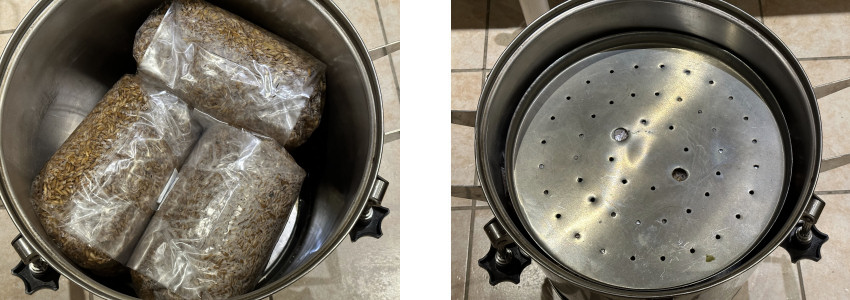
Carefully load the bags into the PC, The picture above shows all 6 bags stacked on top of each over in the PC. Then place something on top of the bags like a trivet or a ceramic plate, this safety precaution is very important and will prevent the bags unfolding and blocking the valves of the PC, unless if making a bomb is your intention, then you can skip this step :)
if you only want to sterilize one or 2 bags you can wrap an elastic band around the bag to keep it in place
Now it is time to sterilize, Oats require a longer sterilization cycle then some other grains, one reason is because we did not soak it for 12 hours or longer and endospore germination did not take place. Oats need to be sterilized for a minimum of 2.5 hours, because my bags are quite big I like to make sure and run it for 3.5 hours. After the PC cycle is complete, turn off the heat and allow 24 hours (in my case) for the pressure to naturally release and for the PC and its contents to cool down completely. Do NOT open the PC before then, if you do then the bags will suck in dirty air and you will most likely end up with contaminated bags.
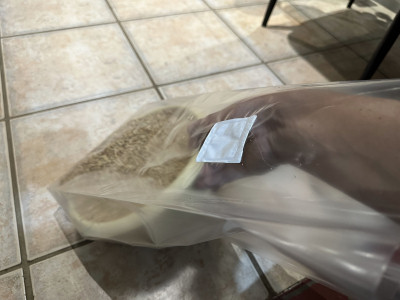
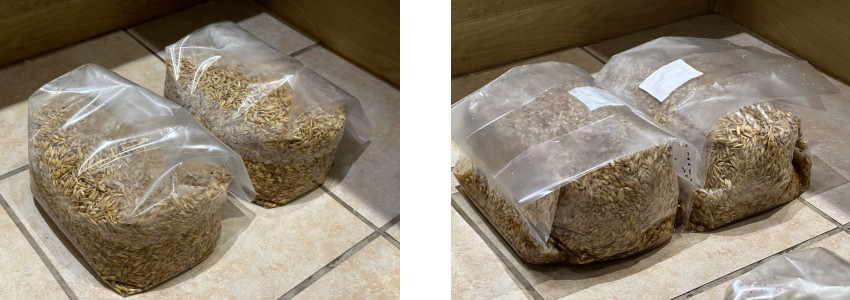
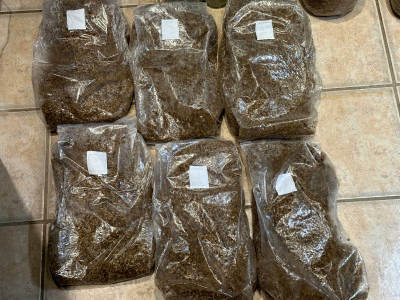
After the PC cycle the bags would have expanded some more and look like this. The bags can now be taken out to be sealed one by one.
The bags should now have a nice vacuum seal.
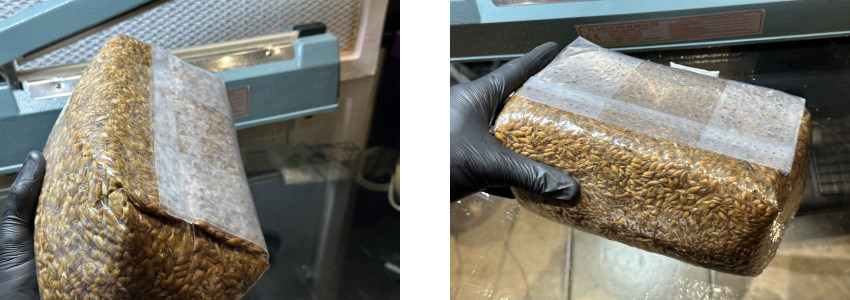
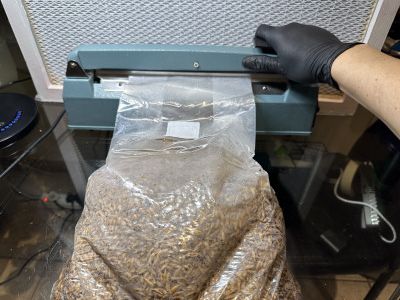
Have your impulse sealer ready in front of the flow hood. Open the bag in front of the flow hood with the opening facing the airflow, then massage the grains to loosen then up and to allow some sterile air to enter the bag and then seal the bag. Inspect the seal closely and make sure it was sealed properly before moving on to the next bag. It is always a good idea to make a second seal just in case.
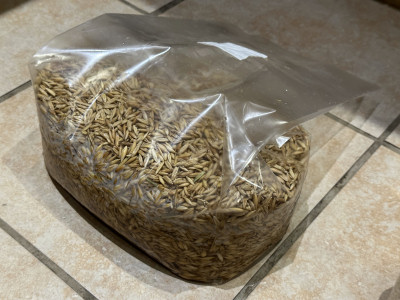
After sealing the bag mix it up thoroughly to redistribute the moisture and lay it flat like in the picture above. Mix it up every few hours for a day or so until the inside of the bag looks dry and there are no moisture visible.
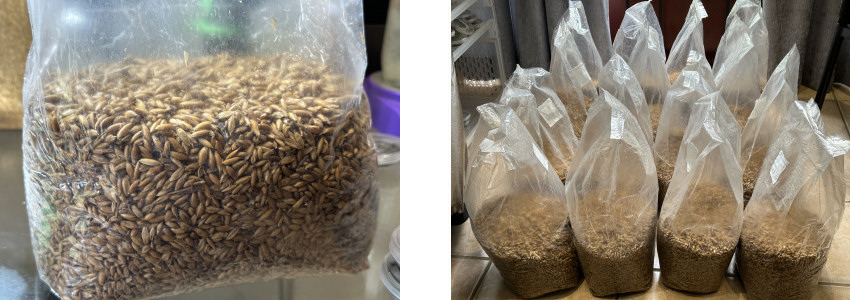
Congratulations, now your grain bags are ready for use. Perfectly hydrated yet dry grains ready for inoculation. If you like you can wait a week or so just to make sure everything was done correctly and there is no contamination. If you feel confidant then go for gold!
I hope my technique changes your life like it changed mine, happy growing!
